These are quick and dirty ways of fixing the waist band, and they're very basic. If you already sew at all, you probably already know them. So, you can skip to the part 2 of this series, which might still interest you since I thought I was pretty smart when I came up with the idea. (You still might already know it, and in that case, I was the last one to know the method already existed.)
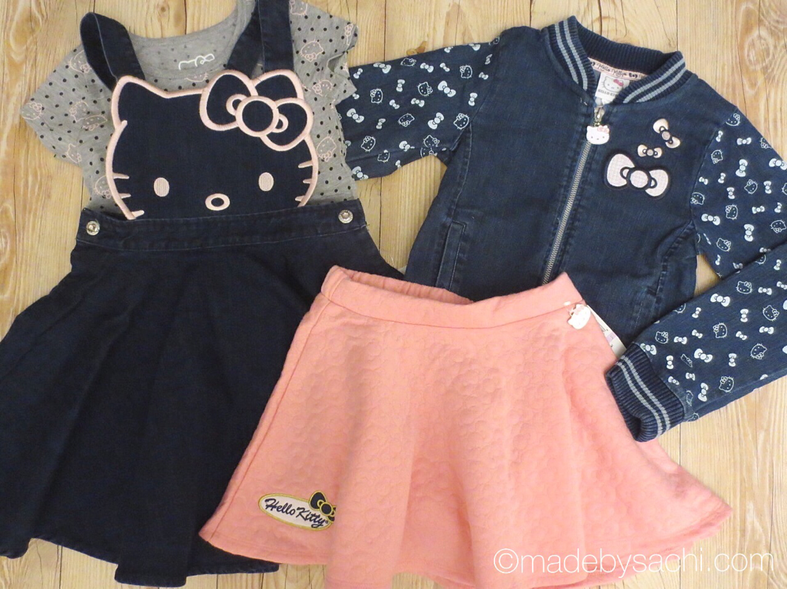
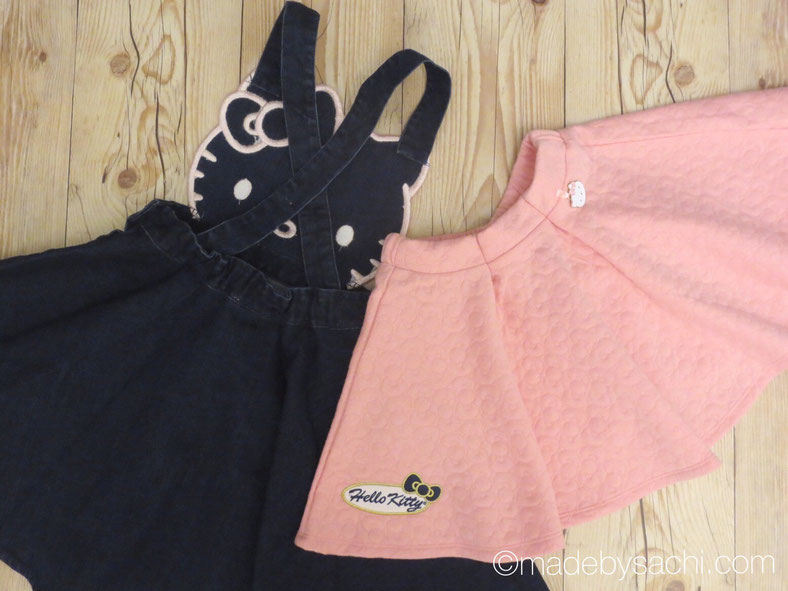
Pictured below is the start of my daughter's fall 2019 wardrobe. Maybe her (and my) obsession with Hello Kitty is obvious.
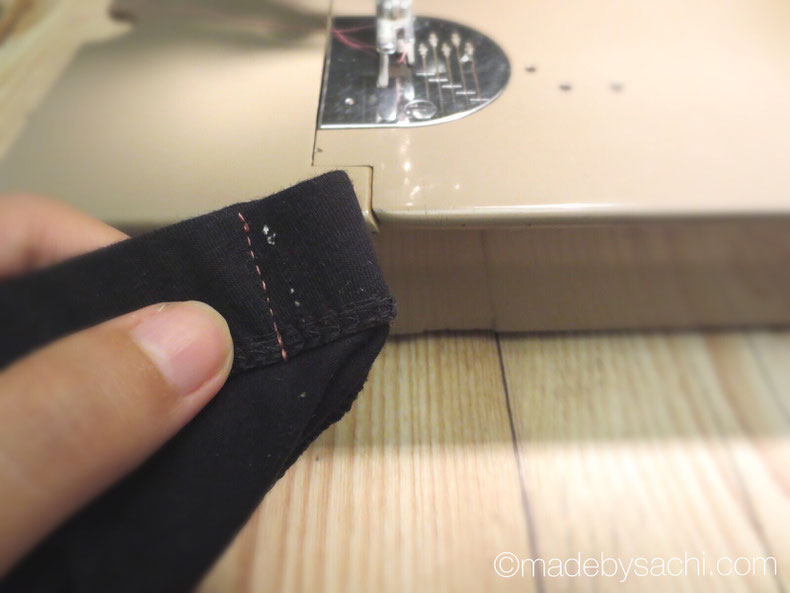
Not pictured above, but I also bought a pair of black leggings which was too big for my daughter in the waist. So I folded the center back right sides together, and sewed double thickness of the waist band in straight stitches 1” from the folded edge. This made the waist band smaller by 2”. This gives a bit of bulk and awkwardness in the back when worn, but it’s incredibly easy to adjust later. Kids are probably going to grow out of the size (hopefully) before they notice anything awkward in the back..
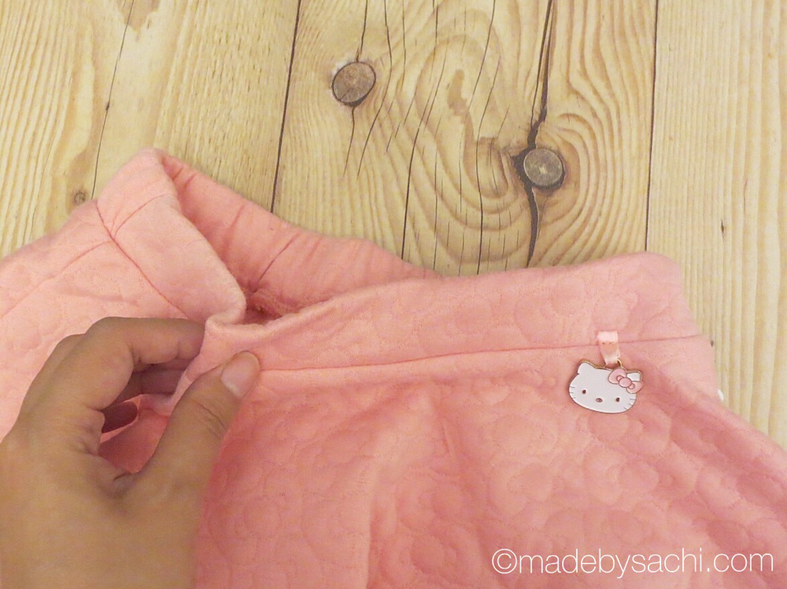
This skirt was slightly more complicated. The reason is because its waist band is flat in the front and elasticated in the back, which means there is more fabric bunching up in the back. I could have taken it in in the side seams, but that would have been the double thickness of the waist band plus the thickness of the waist elastic. So I decided to take in in the front mimicking pleat details.
I first marked the center front with a pin (red), then folded the front skirt in half to mark the same distance on both sides of the center front pin (blue and light green).

Then, i folded right-sides together around one of the second pins, and sewed the waistband in straight stitches 1/2 inches from the folded edge. this made the waist band 1 inch smaller.

I repeated on the other second pin (light green) mark, and shortened the waist band by 2 inches in total.
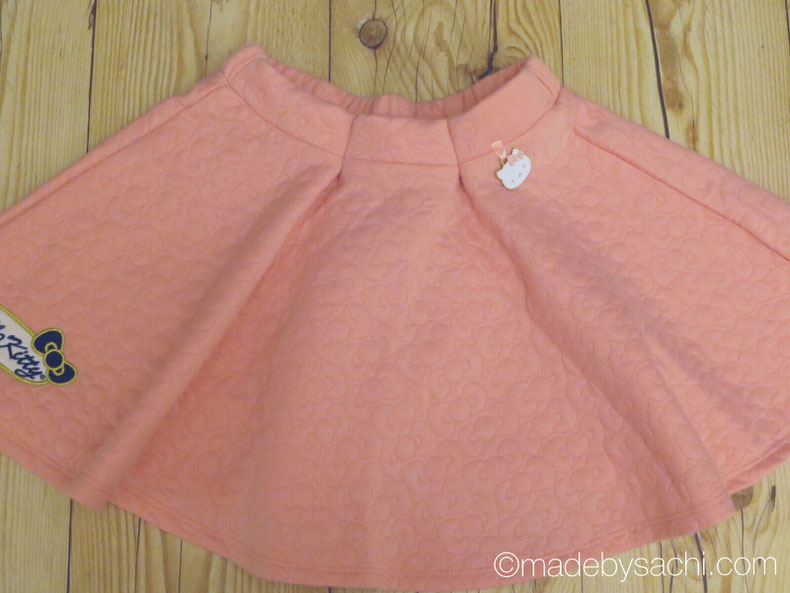
After only stitching pleats on the waistband part and looking at the result, I went back and made the pleats longer, about 1/2 inch past the waist band bottom. I just thought the waist area looked better and intentional that way.
In the part 2, I added an elastic casing to the back waist of the Hello Kitty jump skirt.
You might also like...


